この記事はだいたい 4 分ほどで読めます。
VSCode で PHP をいじりたくて XAMPP のインストールと初期設定を行った際の備忘録です。
目次
環境
- PC:Windows10
- XAMPP:7.4.6
XAMPP セットアップ
ダウンロード
ブラウザで[XAMPP]で検索してダウンロードサイトからインストーラをダウンロード。
インストール
ダウンロードしたインストーラを起動します。
Warning
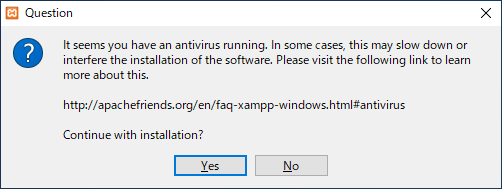
Yesをクリック。
Warning
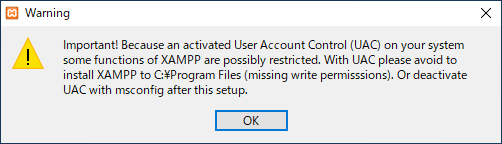
OKをクリック。
Setup – XAMPP
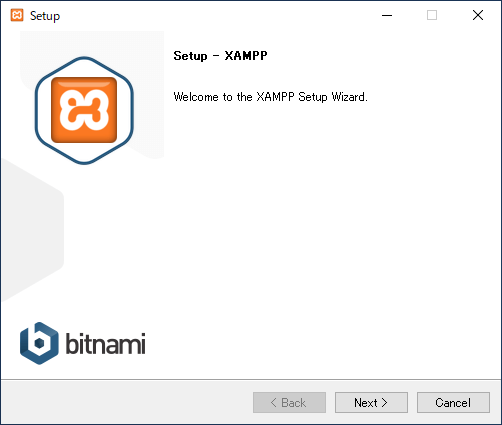
Nextをクリック。
Select Components

Nextをクリック。
Installation folder
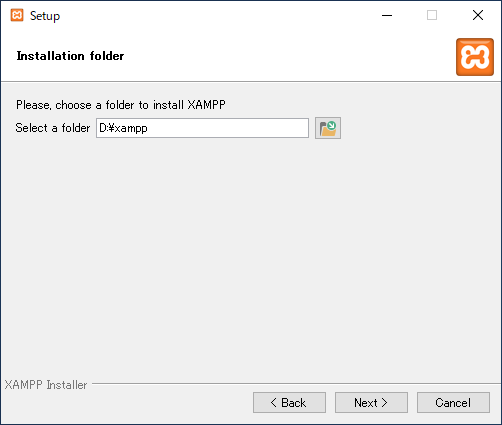
インストール先を選択する画面です。
デフォルトはCドライブでした。
変更する場合はフォルダを選択します。
今回はDドライブに変更してNextをクリック。
Language
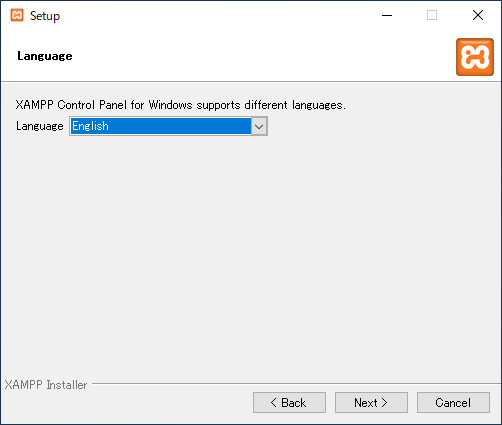
言語の選択画面です。
日本語とかなさそうなのでそのままNextをクリック。
Bitnami for XAMPP
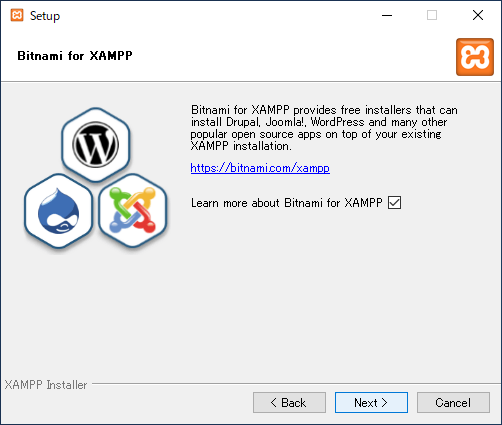
Nextをクリックします。
ブラウザが開くけどとりあえずすぐ閉じる。
Installing
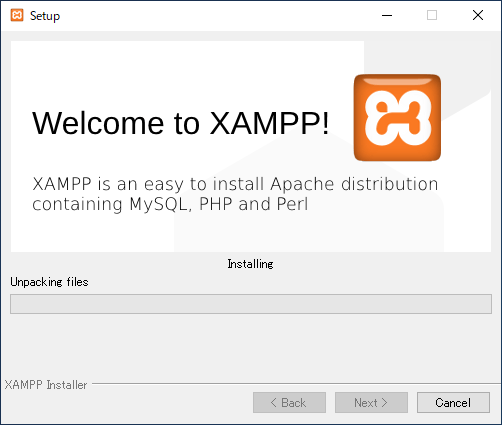
インストールが始まりました。
Completing the XAMPP Setup Wizard
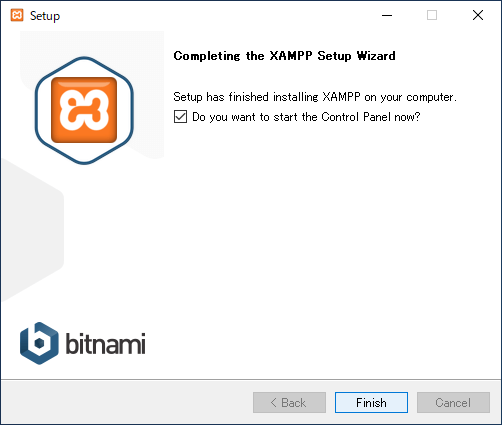
インストール完了です。
チェックボックスを付けたままFinishをクリックするとコントロールパネルが起動します。
起動
インストールディレクトリ(今回の場合は D:\xampp\ )の[xampp-control.exe]をダブルクリックします。
※インストール時に立ち上げるかどうか聞いてくるので立ち上げるを選択すると勝手に立ち上がる。
XAMPP Control Panel

ApacheとMySQLを起動します。
StartボタンをクリックしてModule部分が緑になってPIDとPortに値が入ればOK。。かな
動作確認
Apache,PHP,MySQL がそれぞれ動いてるか phpMyAdmin を動かしてみます。

ブラウザのurlに localhost/phpmyadmin と入力。
phpMyAdmin が起動するのでデータベースを作成してみます。
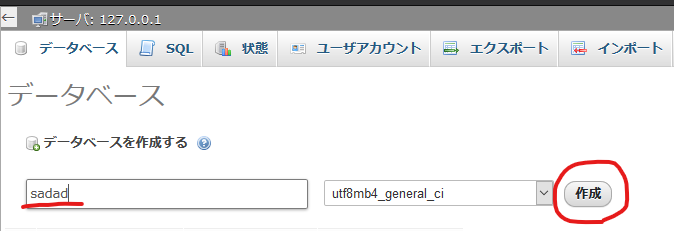
[データベース]タブをクリックしてテキストボックスに適当な名前を入力して作成をクリック。
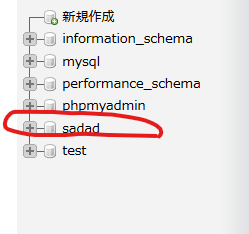
新しいテーブルができました。
Apache,PHP,MySQLがそれぞれ動いているようです。
ルートディレクトリに適当なファイルを作成して動かしてみます。
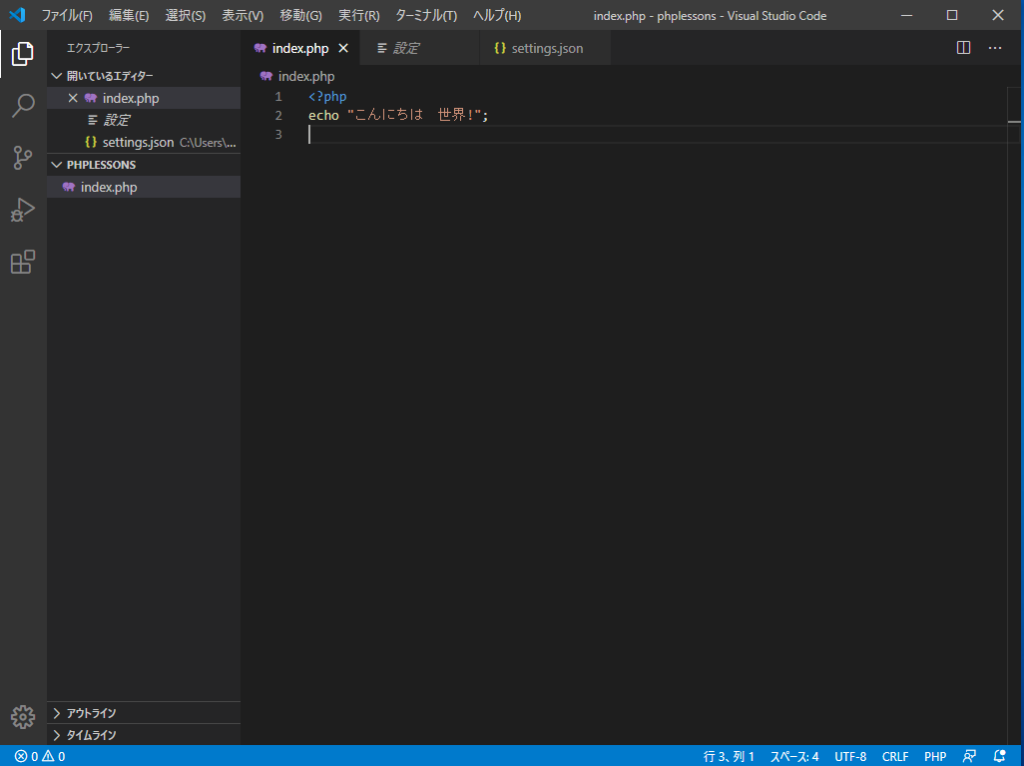
D:\xampp\htdocsに phplessons というフォルダを作成し index.php ファイルを作成
ブラウザで確認。
表示されました。
次はHTMLファイルで確認してみます。
先ほど作成した index.php を削除します。
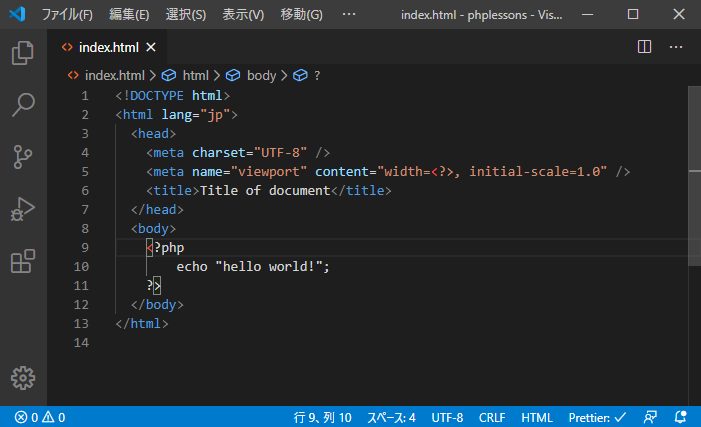
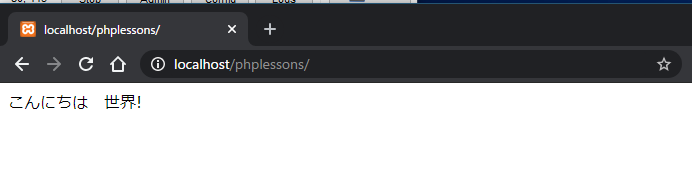
index.html を作成。
ブラウザで確認。
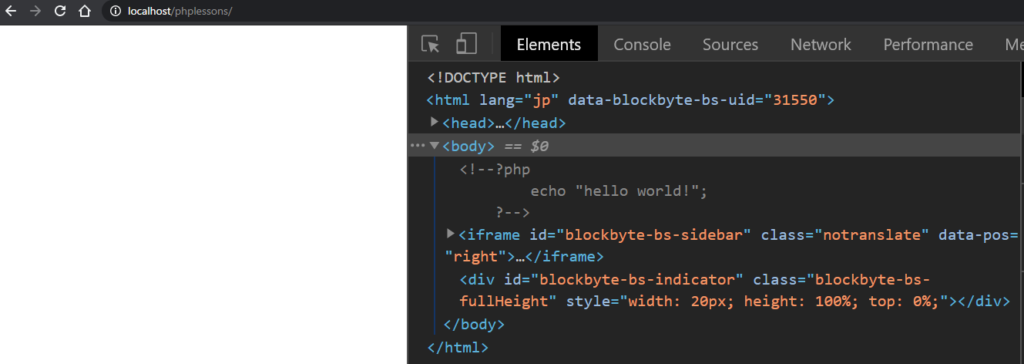
。。。表示されない。
PHP部分がコメントアウトされちゃってる。
htmlファイルでもPHP埋め込んで動くように設定を変更してみます。
httpd.confを編集
XAMPP Control Panelを開きます。
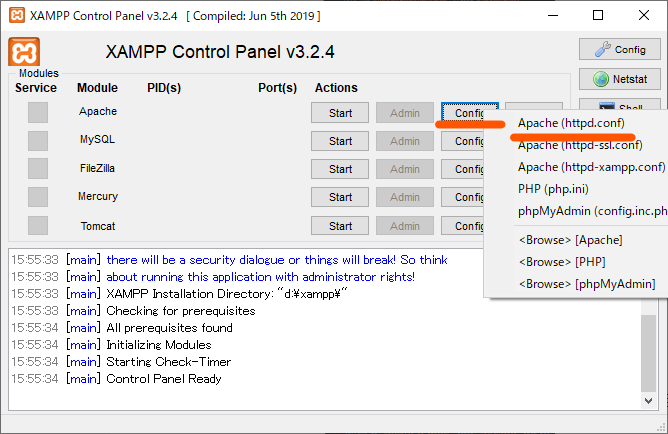
Apacheの[Config]ボタンをクリック。
さらに[Apache(httpd.conf)]をクリックします。
最終行に下記を追加して保存します。
AddType application/x-httpd-php .php .html
Apacheを再起動してもう一度確認します。
表示されました。
htmlファイルにPHPを埋め込んで処理がされました。
感想
VSCode の PHP の拡張機能を試したくてローカル環境に XAMPP をセットアップしました。
インストーラ一発でローカル環境の構築がほぼほぼ完了できるってのは感動的です。
その昔、PHPを動かすのにIISと戦ったのはいい思い出です。
おわり。